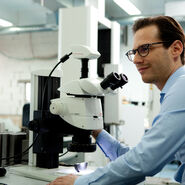

When is a stereo microscope a good option?
Stereo microscopes stand out for their capability of generating a 3D impression of the sample. Thus, they are particularly well suited for inspection and rework, quality control, research and development, or failure analysis in manufacturing settings. They are also useful for life science research in terms of specimen sorting, screening, and handling as well as education in classrooms and laboratories at schools and universities.
Step 1: Understand what your needs are
Before you embark on the journey of selecting a stereo microscope, you should give some thought to the type of applications that you need the microscope for and setup where it will be used. These factors should have a key influence on your decision.
Consider the samples
What kind of samples need to be observed? Do you need to accommodate a variety of samples or is it just the same type of sample with the aim of achieving a high throughput? What kind of sample structures need to be observed? Do you need to look at reflective samples, like metal components or parts, or see into holes? How big will your samples be? If you are focusing on life-science applications, is fluorescence imaging important?
The kind and size of samples you look at will influence which illumination to use, how much space you need under the objective lens and which kind of stage to choose.
Consider the application
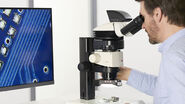
What exactly do you need to do with your samples? Besides observation, do you require documentation and measurements? Do you have to discuss the image or measurements with colleagues or students? Does your task involve screening and sorting or handling of the sample while observing it with the microscope?
Answers to these questions will influence the choice of microscope in terms of setup, e.g., whether a stand-alone solution with an on-screen display could be used, a separate monitor is desirable, sharing functionality is important, or a camera is needed for documentation.
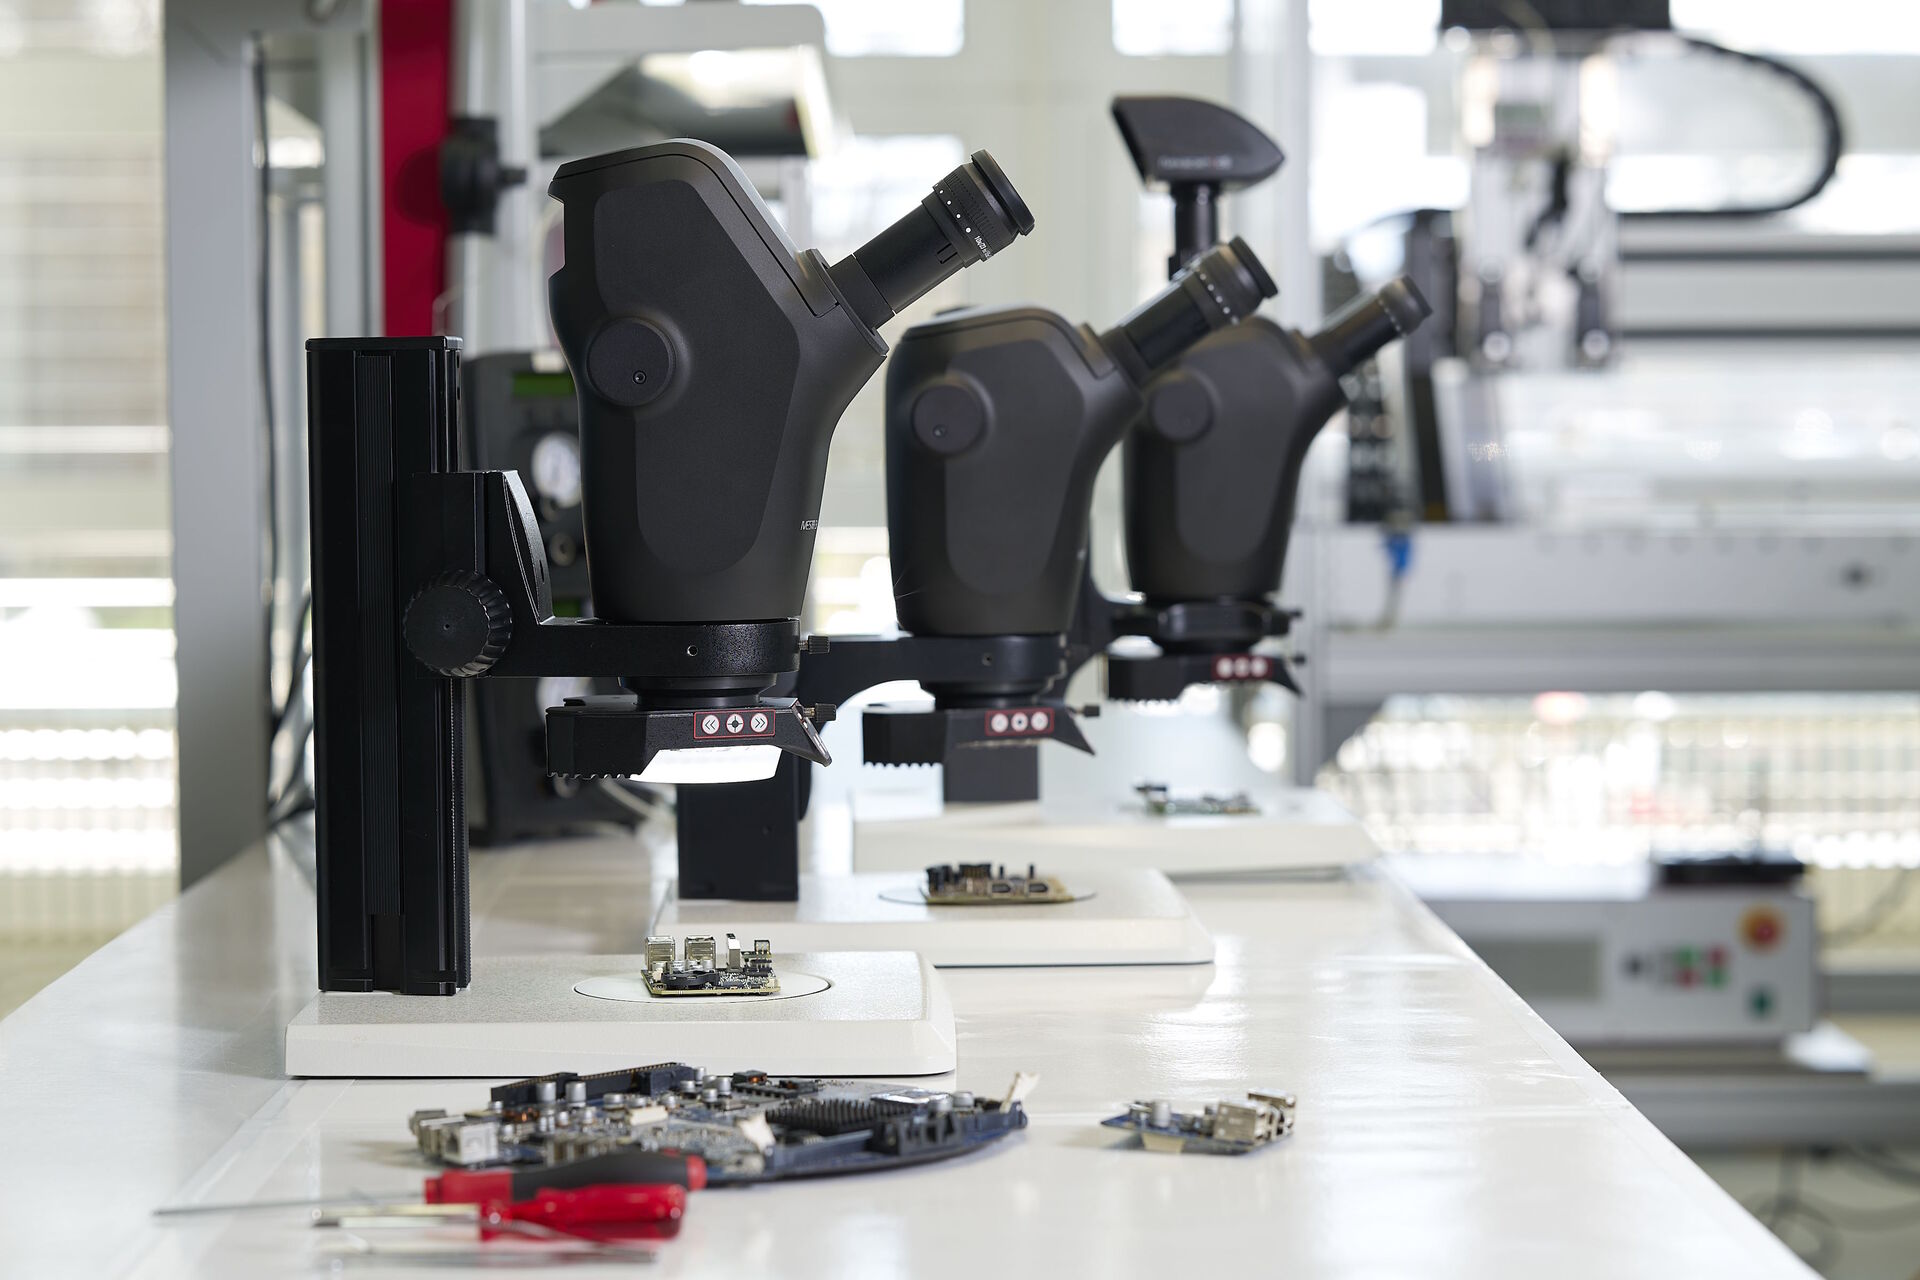
Consider the users
Will the microscope be shared and, if so, by how many? How much time does each user spend working with the microscope?
Depending on the number of users, the microscope should be adaptable to each user’s preferences and physique quickly. If users spend long hours working with a microscope, ergonomic accessories are essential to help prevent repetitive strain injuries.
Consider your budget
How many microscopes are needed and how much can you spend?
There are stereo microscopes for almost any budget. Being aware of what you can spend will allow you to prioritize or opt for a modular solution that will accommodate most of your needs. Keep in mind that at first modular solutions may seem like a higher investment, but in the long run they may save you money thanks to their versatility, adaptability to different users, and large variety of accessories.
Step 2: Make an informed decision
When evaluating different options, it’s important that you have an understanding of the key factors that determine the performance of a stereo microscope and the users who work with it. Below is an overview of the most important factors to consider. The bullet points briefly describe the most important aspects. The deep dives after the overview will give you more details on each of the mentioned aspects.
1. Zoom range, magnification, object field (field of view), and working distance
- The zoom range of a stereo microscope’s optics defines the range between the highest and lowest zoom magnification values. Users who usually work at the same magnification value don’t require a large zoom range. If the workflow requires handling samples under the objective or searching the sample to find regions of interest, a large zoom range may be useful, as it allows you to go rapidly from seeing an overview to the fine details.
- Depending on the eyepieces, a bigger or smaller field of view or object field can be seen at the same zoom magnification. A larger field of view allows users to maintain a better orientation on the sample.
- The working distance refers to the distance between the top of the sample and the objective’s front lens. For inspection and rework or specimen sorting, a larger working distance is useful, as this allows for more comfortable handling of the sample while you are observing it with the microscope.
2. Depth of field, resolution, and numerical aperture (NA)
- The depth of field indicates how much of the sample, in terms of vertical height, users perceive as being in focus [1]. It has an inverse correlation with the numerical aperture, resolution, and magnification.
- The resolution indicates how much detail users can see in a sample [2].
- The numerical aperture is related to the refractive index of the medium, in which the sample and objective are immersed, and the maximum angle of the light cone collected by a lens. A greater NA results in higher resolution, but usually reduced depth of field [1,3].
- FusionOptics combines higher resolution with a larger depth of field [4].
3. Optical quality
- The optical quality defines how accurately a sample can be imaged.
- Chromatic and spherical aberration [5] are optical phenomena that lead to color fringes and distortion of the image.
- Depending on the sample and the task, different requirements may arise in terms of optical quality, e.g., if seeing the true colors of the sample is important, then color-corrected optics are needed.
- If fine details on a sample need to be visualized, e.g., for applications like research and development (R&D), optics with better light transmission are advisable.
4. Illumination
- An optimal illumination should illuminate the entire field of view evenly, provide good contrast, and reveal the true colors of the sample. The article listed as reference 12 shows examples of different lighting and its effect on images.
- It is important that the illumination works well for both the microscope used and intended application [6].

5. Ergonomics
- If users spend long hours looking through the eyepieces, they are at risk of strain, which may lead to musculoskeletal disorders. Such health issues can lead to reduced concentration and inefficiency or even absences from work.
- Ergonomic accessories help users maintain a good posture while working with the microscope [7].
- Adjustable features of the microscope, such as the zoom and focus knobs, help users customize the operation and setup which is especially important when there are multiple users.
Deep dive: Zoom range, magnification, object field (field of view), and working distance
The total magnification of a stereo microscope is the combined magnifying power of the objective lens, zoom optics, and eyepieces [8].
The objective has a fixed magnification value. The zoom optics allow the magnification to be changed over the zoom factor range. The eyepieces also have a constant magnification value.
To find out the total magnification of the sample being observed via the eyepieces, the magnification factors of the objective, zoom optics, and eyepieces have to be multiplied.
The formula for total magnification is: MTOT VIS = MO x z x ME, where:
MTOT VIS is the total magnification (VIS stands for "visual");
MO is the magnification of the objective (1x for the case of a Greenough microscope with no supplementary lens);
z is the zoom factor; and
ME is the magnification of the eyepieces.
In general, values for MO are between 0.32x and 2x, for z between 0.63x and 16x and ME between 10x and 40x.
Influence of magnification on the field of view/object field
When looking into the eyepieces, a circular area called the field of view (FOV) becomes visible [8]. The diameter of the FOV depends upon the total magnification. For example, eyepieces with a 10x magnification have a field number of 23. The field number means that at a 1x combined magnification of the objective and zoom optics, the FOV observed through the eyepieces is 23 mm in diameter.
The working distance is the distance between the objective’s front lens and the top of the sample when it is in focus. Usually, as magnification increases, the working distance of an objective decreases. The working distance directly impacts the usability of a stereo microscope, especially for inspection, rework, and quality control tasks which require space to maneuver the sample under the objective.
Deep dive: Depth of field, resolution, and numerical aperture (NA)
Relationship between depth of field, magnification, and resolution
The depth of field is determined by an inverse correlation with numerical aperture, resolution, and magnification [1-3].
For the best possible visualization of a sample, the proper adjustment of a microscope’s settings can produce an optimum balance between depth of field and resolution. Particularly at low magnifications, the depth of field can be significantly increased by stopping down, i.e., reducing the numerical aperture. The aim is to find the optimum balance of resolution and depth of field depending on the size and shape of the sample’s features.
Optimal 3D images with FusionOptics technology
A sophisticated optical approach for stereo microscopes that allows both simultaneously high resolution and large depth of field is achieved with the FusionOptics technology from Leica Microsystems [4]. One beam path provides higher resolution and lower depth of field, the other beam path provides lower resolution and greater depth of field. The human brain combines the two separate images into one optimal image with high resolution and large depth of field.
. With the FusionOptics technology, one beam path provides a large depth of field (2) and the other high resolution (3). The two images are merged into a single, optimal 3D image by the brain (4).")
Deep dive: Optical quality
Achromatic or apochromatic lenses
Chromatic aberration is a type of distortion due to a failure of a lens to focus all colors to the same convergence point. It occurs because lenses have a different refractive index for different wavelengths of light (the dispersion of the lens). Spherical aberration occurs when light rays striking a spherical lens surface at a point away from its center axis are refracted to a greater or lesser degree than those that strike at points close to the center [5].
The aim of a good optical design is to reduce or eliminate chromatic and spherical aberration completely. The following classes of objective lenses can be used to limit the effect of these issues [9,10]:
Achromat
- Chromatically corrected for two wavelengths (red and green) which are brought into focus in the same plane.
- Well-suited to standard applications in the visual spectral range, in which true color reproduction is not important and mainly geometrical features are assessed.
Apochromat
- Chromatically corrected for three wavelengths (red, green, blue) which are brought into focus in the same plane.
- For applications with the highest specifications in the visual spectral range and beyond, in which color fringes can be disturbing, such as those which require fast color change and the colocalization of structures.
Plan
- A lens which is not corrected for field flatness or planarity shows a non-uniform focus over the entire field of view.
- Correction for image flatness is useful for many applications, especially those requiring large fields of view.
Deep dive: Different kinds of illumination
- Incident light: Used for opaque, non-transparent samples. Depending on the sample texture and application requirements, many different incident illumination solutions are available to give proper contrast of the sample details and features of interest.
- Transmitted light: Used for various kinds of transparent samples ranging from biological ones, such as cells and model organisms, to materials like polymers and glass.
- Standard transmitted brightfield illumination: Used for all types of transparent samples. It provides high contrast and sufficient color information.
- Oblique transmitted illumination: Used for samples that are nearly transparent and colorless. A greater contrast and visual clarity of the sample can be achieved.
- Darkfield illumination: Used for small features on flat areas of a sample which cannot be seen easily with brightfield, such as cracks, pores, fine protrusions, etc. on shiny or bright samples. It can also be used to reveal sample structures with a size below the resolution limit.
Deep dive: Ergonomics
In more detail: ergonomics for the best results
Generally, the physique and working habits of people vary significantly. Therefore, the height of the eyepieces of a microscope may not be suitable for every user. If the viewing height is too low, observers will be forced to bend forward while working, resulting in muscular tension in the neck region [7]. To compensate for these height differences, it is advisable to use a variable binocular tube [7]. Leica Microsystems offers a broad range of ergonomic accessories which help keep workflows efficient.