
Introduction
Waffle freezing provides an HPF-based route to cryo-ET sample preparation. This workflow guide follows the process from grid and carrier assembly to vitrification, cryo-FIB milling, lamella optimization, and cryo-ET imaging — with a focus on the control points that influence reproducibility and lamella yield.
The waffle method is designed to support cryo-ET sample preparation when thicker or complex specimens require more than conventional plunge-freezing approaches can provide. Rather than reintroducing the method in detail, this article focuses on how the workflow is implemented in practice — and where preparation, vitrification, milling, and lamella optimization need to be controlled.
Step-by-step workflow overview: from waffle assembly to cryo-ET
The waffle method workflow can be viewed as a sequence of connected preparation steps. Each step influences the next: assembly affects vitrification quality, vitrification affects milling behavior, and milling quality affects downstream cryo-ET imaging. For reproducible outcomes, the workflow should therefore be controlled from the first handling step through to final lamella preparation.

Serial Lift-Out workflow for cryo-ET lamella preparation - Schematic illustration of the Serial Lift-Out method applied to a vitrified biological sample (e.g., C. elegans larva) embedded in bulk vitreous ice (blue). Image courtesy: Prof. Dr. Jürgen M. Plitzko - doi.org/10.1038/s41592-023-02113-5.
Step 1 — Assemble the waffle setup
The workflow begins with careful grid and carrier assembly. EM grids are positioned between planchettes or carriers, the sample is applied in a controlled volume, and the assembly is prepared for high-pressure freezing. This configuration supports sample distribution and mechanical stability during freezing.
Control point: assembly precision. Small deviations in grid placement, carrier preparation, or sample loading can influence vitrification quality and downstream lamella outcomes.
Step 2 — Vitrify the sample by high-pressure freezing
High-pressure freezing is the enabling step in the waffle workflow. It supports vitrification of thicker aqueous samples beyond typical plunge-freezing limits and provides the vitrified volume that is later processed by cryo-FIB milling.
Control point: freezing consistency. Controlled freezing conditions help reduce variability in vitrification quality and support more reproducible downstream preparation.
Step 3 — Prepare the vitrified waffle for cryo-FIB milling
After freezing, the vitrified waffle is processed for cryo-FIB milling. Trenches are milled to expose internal regions of interest, and lamellae are progressively thinned. A representative progression moves from coarse milling to intermediate thinning and final lamella preparation.
Control point: milling strategy. The approach to trenching, thinning, and positioning determines how efficiently usable lamellae can be generated from the vitrified volume.
Step 4 — Optimize lamella quality
Lamella optimization focuses on reducing milling artifacts and improving mechanical stability. Platinum coating, notch milling, and optimized milling angles are described as refinements that can help reduce curtaining, relieve stress, and improve lamella survival.
Control point: surface quality and coating. Defects or uneven coating can propagate into curtaining and other artifacts that affect tomogram interpretability.
Step 5 — Move from lamella preparation to cryo-ET imaging
Once suitable lamellae are prepared, the workflow proceeds to cryo-ET imaging. The goal is to use produced lamella to expose relevant biological structures in vitrified samples and seamlessly transit from upstream cryo-FIB preparation and support downstream cryo-ET imaging.
Control point: workflow continuity. Each preparation step should be considered part of a connected workflow, because early handling and vitrification choices influence milling behavior and final lamella quality.

Double-sided Serial Lift-Out workflow for high-throughput lamella generation - Workflow illustrating the preparation of multiple lamellae from a vitrified biological sample using double-sided attachment Serial Lift-Out. Image courtesy: Prof. Dr. Jürgen M. Plitzko - doi.org/10.1038/s41592-023-02113-5.
Where the waffle workflow needs tight control
Several points in the waffle workflow require careful control because they directly influence vitrification quality, milling behavior, and lamella outcome:
- Sample thickness and vitrification: High-pressure freezing supports vitrification of thicker aqueous samples and is therefore central to the waffle workflow.
- Assembly precision: Grid placement, carrier preparation, and sample loading need to be controlled because the waffle method adds preparation steps before freezing.
- Surface quality and coating: Surface defects and uneven coating can contribute to curtaining and other milling artifacts. Coating strategy is therefore an important control point during lamella preparation.
- Mechanical stability: Tension of the lamella during thinning can lead to bending, breaking, or lamella failure. Notch milling and optimized preparation can help manage stress during cryo-FIB milling.
- Reproducibility: Controlled freezing and standardized handling steps can reduce variability across samples and support more consistent lamella outcomes.
Conclusion
The waffle method is not only a way to prepare thicker or complex samples for cryo-ET — it is a connected workflow in which each preparation step affects the next. Successful implementation depends on controlled assembly, reproducible high-pressure freezing, well-planned cryo-FIB milling, and careful lamella optimization.
By focusing on these workflow steps and control points, EM facilities can better standardize waffle freezing for in situ cryo-ET sample preparation. The general benefits of the waffle method are described in the related Science Lab article; this workflow-focused guide complements that content by outlining how the process can be approached step by step in practice.
 embedded in bulk vitreous ice (blue).")
, insulin SGs (orange), microtubules (red), nucleus (yellow), and plasma membrane (transparent).")
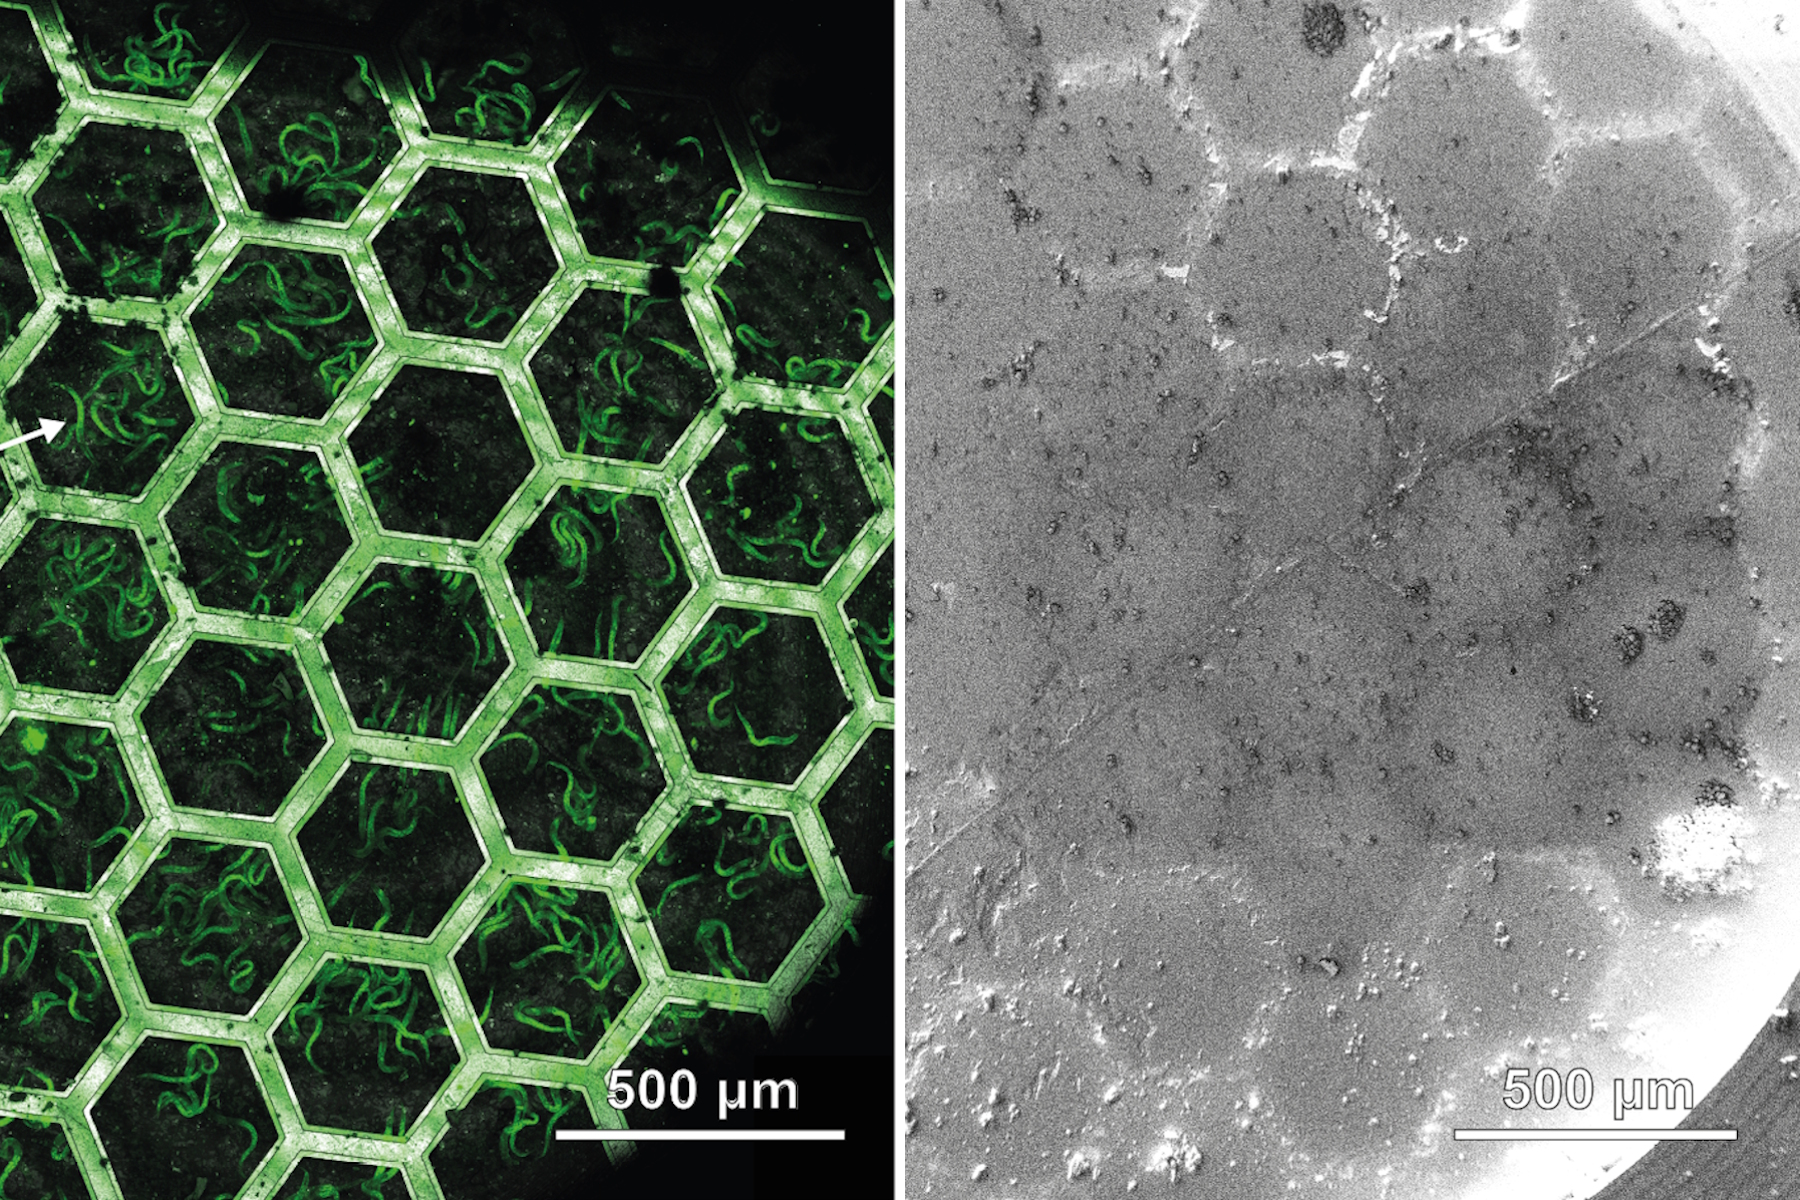
 image of a cross section of C. elegans (roundworm). Courtesy of T. Müller-Reichert, MPI-CBG, Dresden, Germany and K. McDonald, University of California, Berkeley, USA.")
