Industrie
Industrie
Tauchen Sie ein in detaillierte Artikel und Webinare, die sich mit effizienter Inspektion, optimierten Arbeitsabläufen und ergonomischem Komfort in industriellen und pathologischen Umgebungen befassen. Zu den behandelten Themen gehören Qualitätskontrolle, Materialanalyse, Mikroskopie in der Pathologie und vieles mehr. Sie erhalten wertvolle Einblicke in den Einsatz von Spitzentechnologien zur Verbesserung der Präzision und Effizienz von Fertigungsprozessen sowie zur präzisen pathologischen Diagnose und Forschung.
Ensuring Glass Quality with the Polarization Microscopy Advantage
Glass is one of the oldest materials known. Today, it is used for many applications, e.g., optical instruments, windows, doors, solar panels, containers for food, beverages, and medicine, so strict…
How to Select the Right Measurement Microscope
With a measurement microscope, users can measure the size and dimensions of sample features in both 2D and 3D, something crucial for inspection, QC, failure analysis, and R&D. However, choosing the…
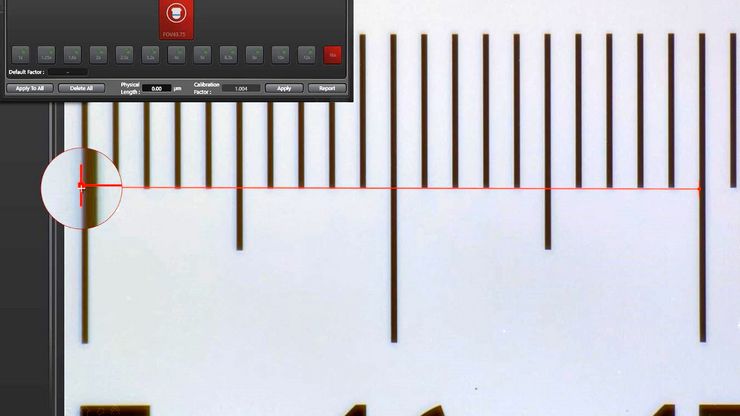
Microscope Calibration for Measurements: Why and How You Should Do It
Microscope calibration ensures accurate and consistent measurements for inspection, quality control (QC), failure analysis, and research and development (R&D). Calibration steps are described in this…
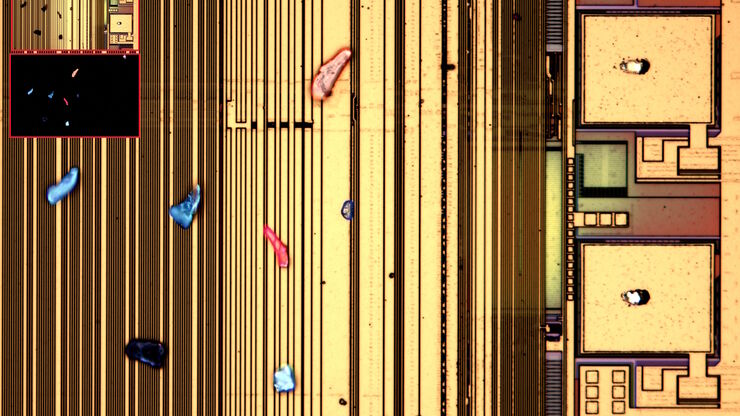
Visualizing Photoresist Residue and Organic Contamination on Wafers
As the scale of integrated circuits (ICs) on semiconductors passes below 10 nm, efficient detection of organic contamination, like photoresist residue, and defects during wafer inspection is becoming…
Rapidly Visualizing Magnetic Domains in Steel with Kerr Microscopy
The rotation of polarized light after interaction with magnetic domains in a material, known as the Kerr effect, enables the investigation of magnetized samples with Kerr microscopy. It allows rapid…
6-Inch Wafer Inspection Microscope for Reliably Observing Small Height Differences
A 6-inch wafer inspection microscope with automated and reproducible DIC (differential interference contrast) imaging, no matter the skill level of users, is described in this article. Manufacturing…
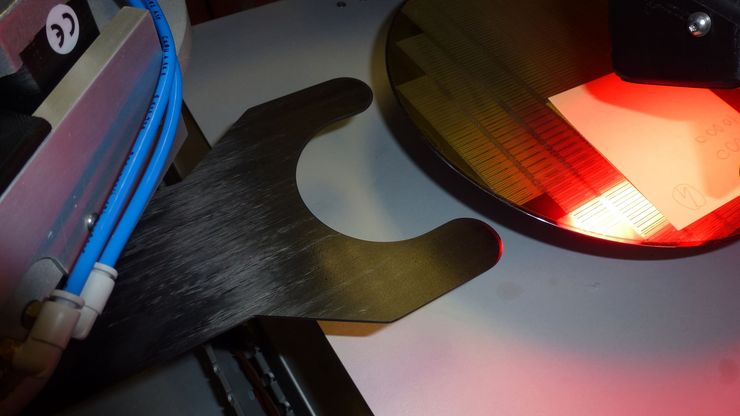
Safe Wafer Loading for Microscope Inspection without Hand Contact
How automated silicon wafer loading for microscope inspection helps improve microelectronics process control and production efficiency is explained in this article. Manual handling of wafers has a…
Graterkennung während der Batterieherstellung
Erfahren Sie, wie die optische Mikroskopie zur Graterkennung an Batterieelektroden und zur Bestimmung des Schadenspotenzials eingesetzt werden kann, um eine schnelle und zuverlässige…
Quality Assurance Improvement Across Industries
Precision is paramount. Imagine a pacemaker that fails mid-operation or a semiconductor flaw that causes a critical system crash. In industries, such as medical devices, electronics, and…


